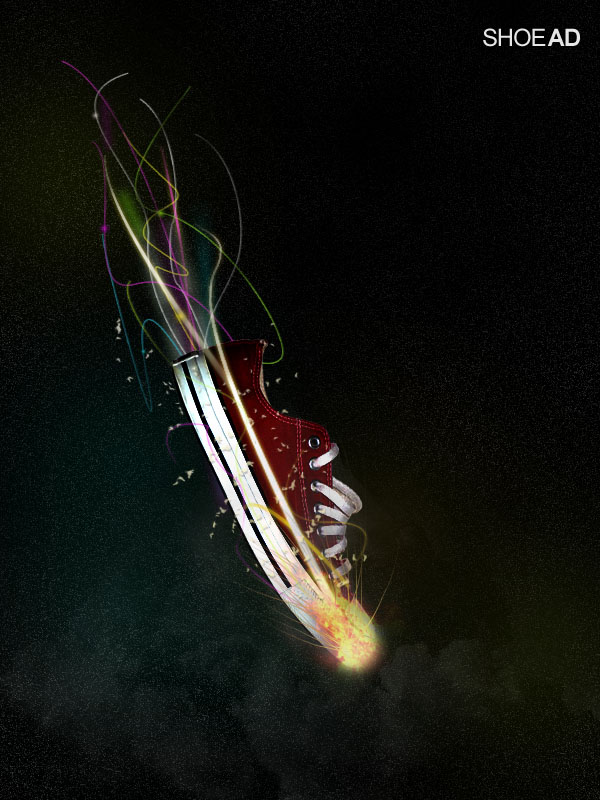
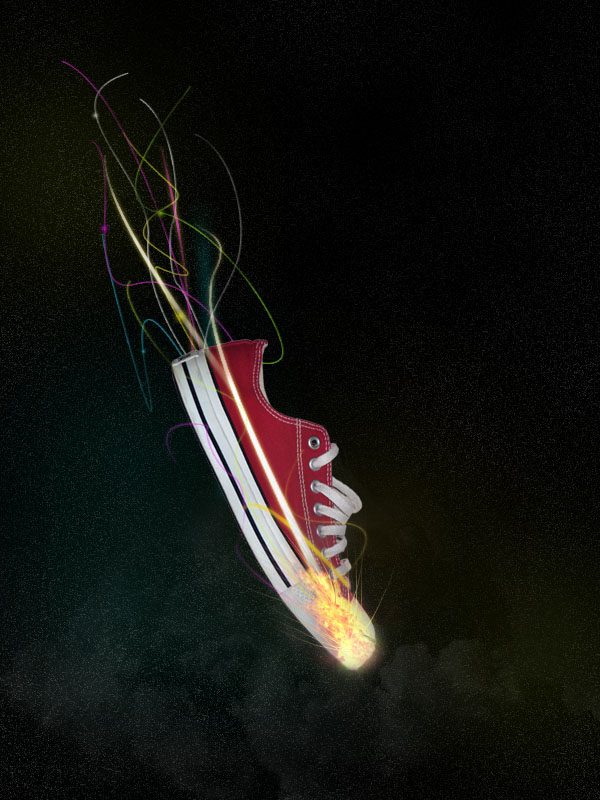
Final Image
This is the final image we’ll be creating. This image is inspired by the incredible works of
Peter Jaworowski.
Images Used
Red Sneaker Photo
Clouds
Flame
Step 1
Open up a new document (600X800px) and create a new layer called ‘background’. Fill your canvas with a linear gradient ranging from 3B3B3B to 595959.

Step 2
Now create a new layer called ‘stars’. Fill your canvas with black, and then go to filter>noise>add noise. Make your settings 10%, Gaussian, Monochromatic.

Step 3
Now go to image>adjustments>brightness/contrast and increase your contrast to +30. Then change this layer’s blend mode to ‘multiply’.

Step 4
Now create a new layer called ‘cloud render’. Go to filter>render>clouds. Then change your layer’s blend mode to ‘overlay’. This should give random patches of light to your image.
Step 5
Now paste in a photo of some clouds into the bottom of your canvas. Go to image>adjustments>desaturate to grayscale your clouds, and then use a large, soft eraser brush to brush away the top of your cloud photo. Change your layer blend mode to ‘hard light’ and reduce your layer opacity to 10%.


Step 6
Now create a new layer called ‘color marks’. Use a very large, soft paintbrush to paint brightly colored marks over your canvas. Then reduce this layer’s opacity to 7%.


Step 7
Now paste in a photo of a shoe. Go to edit>transform>rotate and rotate/scale it to fit nicely in the center of your canvas.

Step 8
Now go to image>adjustments>hue/saturation and reduce your saturation to -25.

Step 9
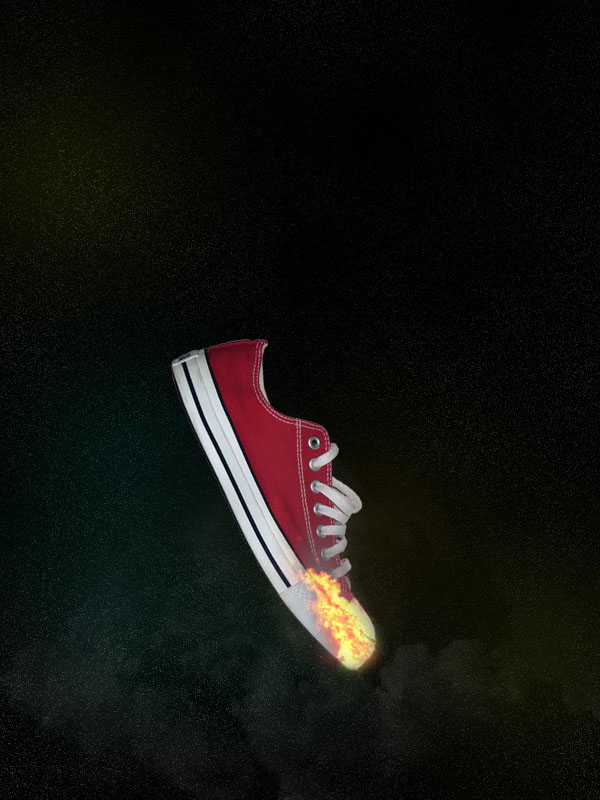
Now paste in an image of some flames onto a new top layer. Then resize/rotate your image to fit over the toe of your shoe. Use a soft eraser brush to make the flames fit the shoe better. Duplicate your flame layer 3 times to make the flames more intense, and then merge down so that you have just one flame layer.


Step 10
I want to make my flames more intense, so I go to image>adjustments>brightness/contrast and up the brightness to +100. To make the flames more intense again, duplicate your flames 3 more times, and merge down to one flame layer. Keep using your soft eraser brush to tidy things up.
Step 11
Now select a 60px white paintbrush, 0% hardness. Paint a white spot over the base of your flames. Then reduce your layer opacity to 40%. This should create a more intense light source at the base of your flames.

Step 12
Now grab your smudge tool, and set it’s strength to 95%. Select your flame layer, and smudge out parts of your flame, using a 1px brush. Try to smudge these lines upwards over your shoe.

Step 13
Now create a new layer beneath your flame and white spot layers called ‘white line’. Draw a wavy path line using your path tool, and then with a 4px white paintbrush selected, select your path tool, right click on your path line and click ‘stroke path’. Once your path line has been stroked right click on it again and click ‘delete path’. This should just leave a white line.

Step 14
Go to edit>transform>skew and reduce the width of the top of this white line. Then go to edit>transform>perspective and increase the bottom width of your line shape. This should give the impression that the line is getting thinner/further away from your shoe.

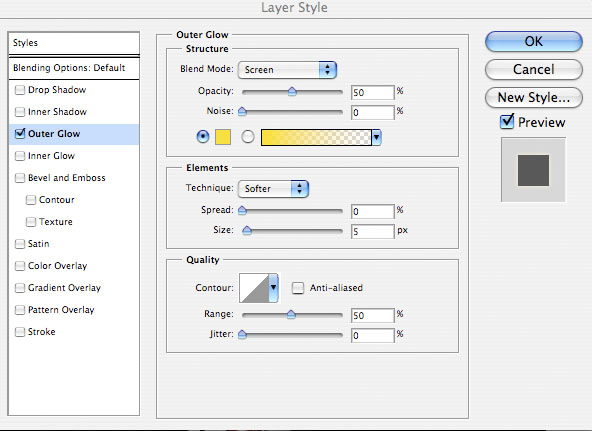
Step 15
Go to blending options for your line layer and apply an outer glow effect (settings below).

Step 16
Now apply many more lines, of varying thicknesses and colors. Make sure that some of them are below your shoe layer and some go above it. To apply the same outer glow to your lines, right click on your original line in your layers palette and click ‘copy layer style’. Then right click on your new line layers and click ‘paste layer style’.

Step 17
Select your radial gradient tool, and apply tiny ‘light spots’ using the radial gradient effect. Try to make each light spot to the color of the line which it goes over.

Step 18
Now create a slightly larger light spot behind your shoe. Go to filter>blur>motion blur and blur the light spot upwards. Then dulicate this layer 3 times to make it more obvious, and merge down to one layer.

Step 19
Add several more blurred light lines.

Step 20
Select your shoe layer and go to image>adjustments>levels. Then apply the settings shown below. This should give your shoe photo a lot more intensity, enhancing the shadows.

Step 21
Now duplicate your flame layer and merge down to one layer. Then go to image>adjustments>hue/saturation and up the contrast to +20 and reduce the lightness to -20. Finally, use your soft eraser brush to brush away the top of the flames a little.

Step 22
Now grab a watercolor brush, and apply the brush settings shown below. Then paint white brush marks over your shoe, to create a scattered effect.


Step 23
Go to blending options for your brush strokes layer and apply a gradient overlay and drop shadow effect.


And We’re Done!
To finish up I added some text to the top right of my advert. I really hope that you enjoyed this tutorial, and as always really appreciate your comments.
sumber : photoshopwebsite


